

This is one of the easiest “builds” EVER! And your dog will love you for it. Keep reading for your new Hide-Away Dog Bed. Here is a one-page printable version of this post!

Back in 2015, I finally moved back to New Jersey after having bounced around to four other states. I HATE moving, though, you couldn’t tell by the number of previous addresses I’d racked up. But finally, I was back in my home state and wanted it to truly feel like home for both Ramses and myself. So I decided he should have his own dog bed. His bed needed to be next to mine but also have the ability to roll under my bed when it wasn’t needed. Promise, this build is super easy! You only need two tools and a handful of materials. As a frequent DIYer, I had a lot of the listed items laying around, so this could be a very low budget “build”. But I included some cost based on my local prices. Prices may vary by region.
List of Materials: | List of Tools: |
|---|---|
| Plywood (42"x54")*** (~$10) | Drill |
| Casters (~$3 ea.) | Staple Gun |
| Screws (<$2) | |
| Cushioning | |
| Fabric |
***Adjust the size to fit under your bed!
The big box stores (Home Depot and Lowe’s) will cut your wood down to size. So measure before you head out to the store! If you don’t get your wood cut at HD or Lowe’s, you will need a saw to cut the plywood down to size.
Hide-Away Dog Bed Instructions:
Step 1:
Because the center support would block the dog bed from going any further under the mattress, I measured the distance from the edge of the bed to where the center rail supports were. This measurement became my width. Next, I measured the distance that was unobstructed. Some of the obstacles were the rail feet and my nightstand. This measurement became my length. I took those measurements and subtracted 2in from each side so that it wouldn’t be a tight squeeze when pushing it under.
Step 2:
I have a bunch of scrap wood, so I cut my wood to the appropriate size. If you don’t have a saw or any scrap wood, you can buy an entire sheet of plywood from HD or Lowe’s for a little as $10. It doesn’t need to be pretty because it will be covered in fabric but I would suggest at least a 1/2″ thick if you have a heavy dog. Both big box stores will cut your wood to size for you. This also makes transporting the plywood home easier if you don’t have a truck or SUV.
Step 3:
Next, the cushioning. I used… moving blankets HA. After each move, the moving blankets would end up in a pile in the corner until I got my life together. Ramses would make the pile his temporary home. So I knew they were comfortable enough for him.
Now three years later, I will probably upgrade him to memory foam. You want to be careful here with the height of whatever cushioning you choose. It needs to slide under the bed. Remember to take into account the cushion height + plywood thickness + the casters. Some bed rails sit higher than others, you will need to measure this and subtract 1-2 inches, so the slide in will be smooth.
Cut the cushion to match the size of your plywood, I left a little overhang so that the edges wouldn’t be so hard.
Step 4:
I had this fabric laying around from a different project so I decided to use it even though its pretty intense and didn’t match my bedroom. When I upgrade Ramses’ cushioning, I will likely switch out the fabric too.
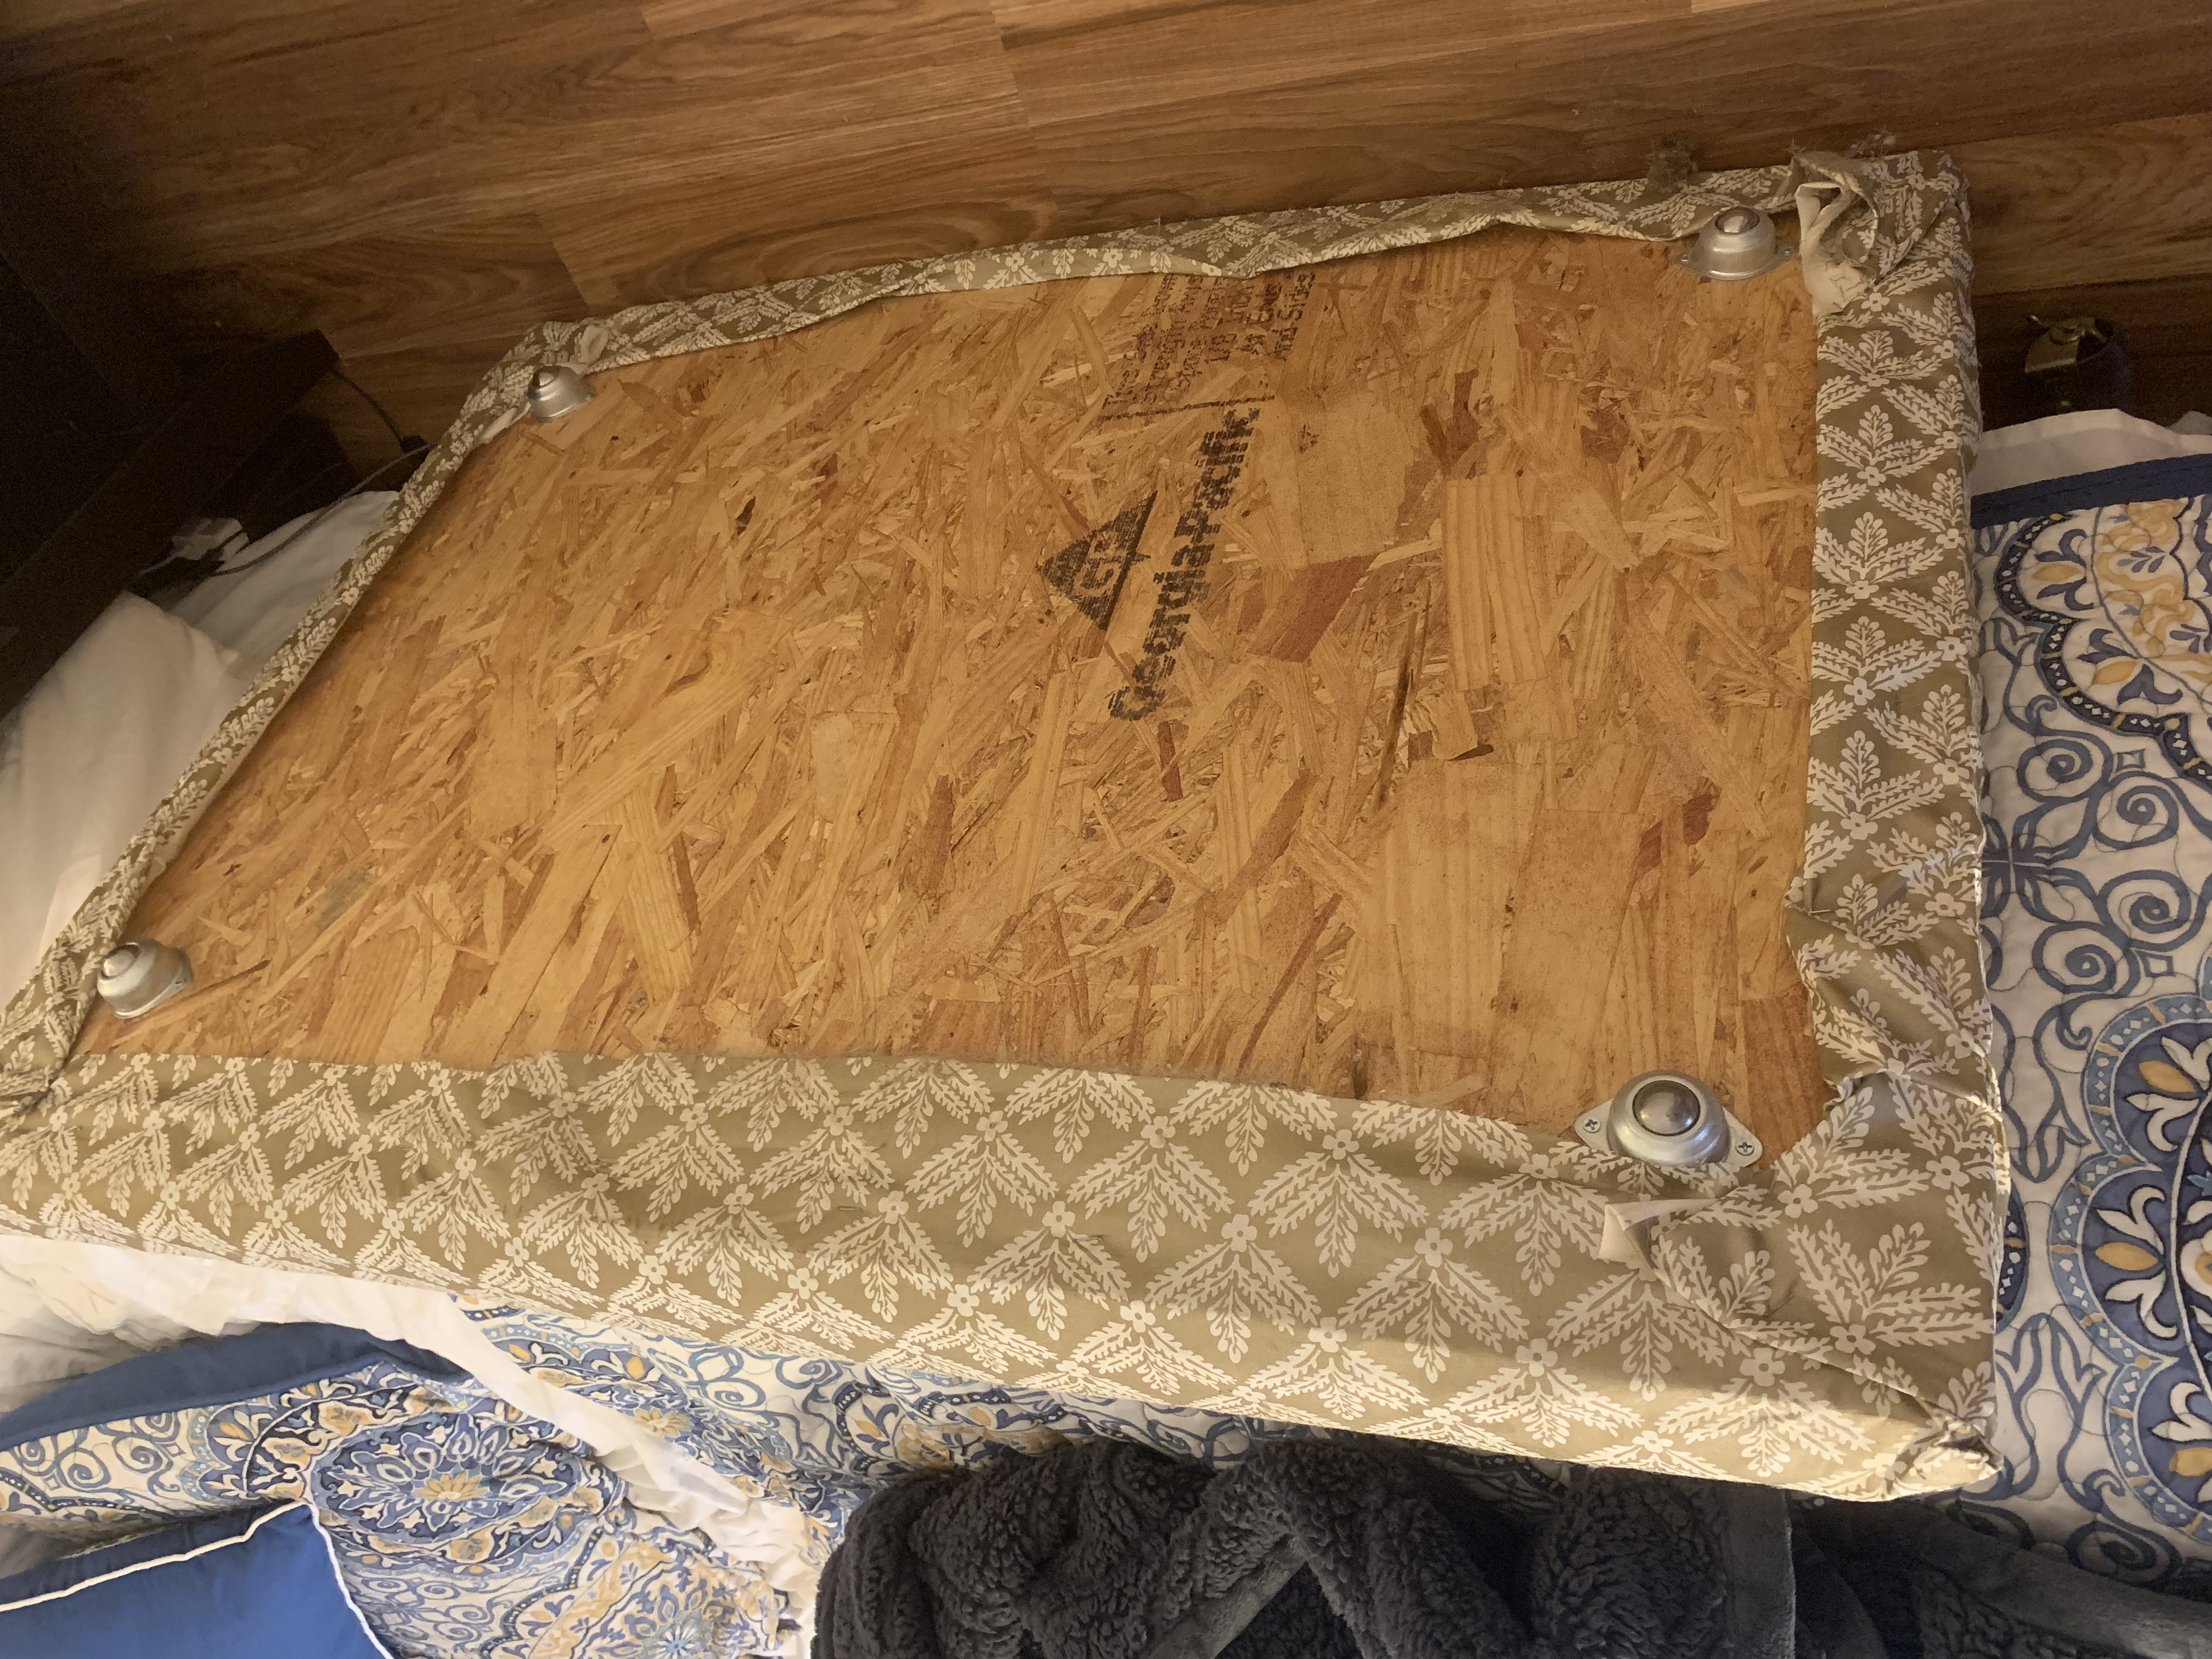
Put your fabric good side down, put the cushion on top then the plywood. You should have about 2 ins of extra fabric around the parameter of the plywood. It’s best to dry fit this rather than measuring because the thickness of your materials will play a big part in how much fabric you need. Cut the material to size. As you can see, I didn’t really spend much time making it look nice since you would never see the bottom.
Step 5:
Staple one side of the fabric to plywood, then pulling tightly (but not so much to squish the cushion flat) and staple the opposite side. Repeat this for the other two sides.
Step 6:
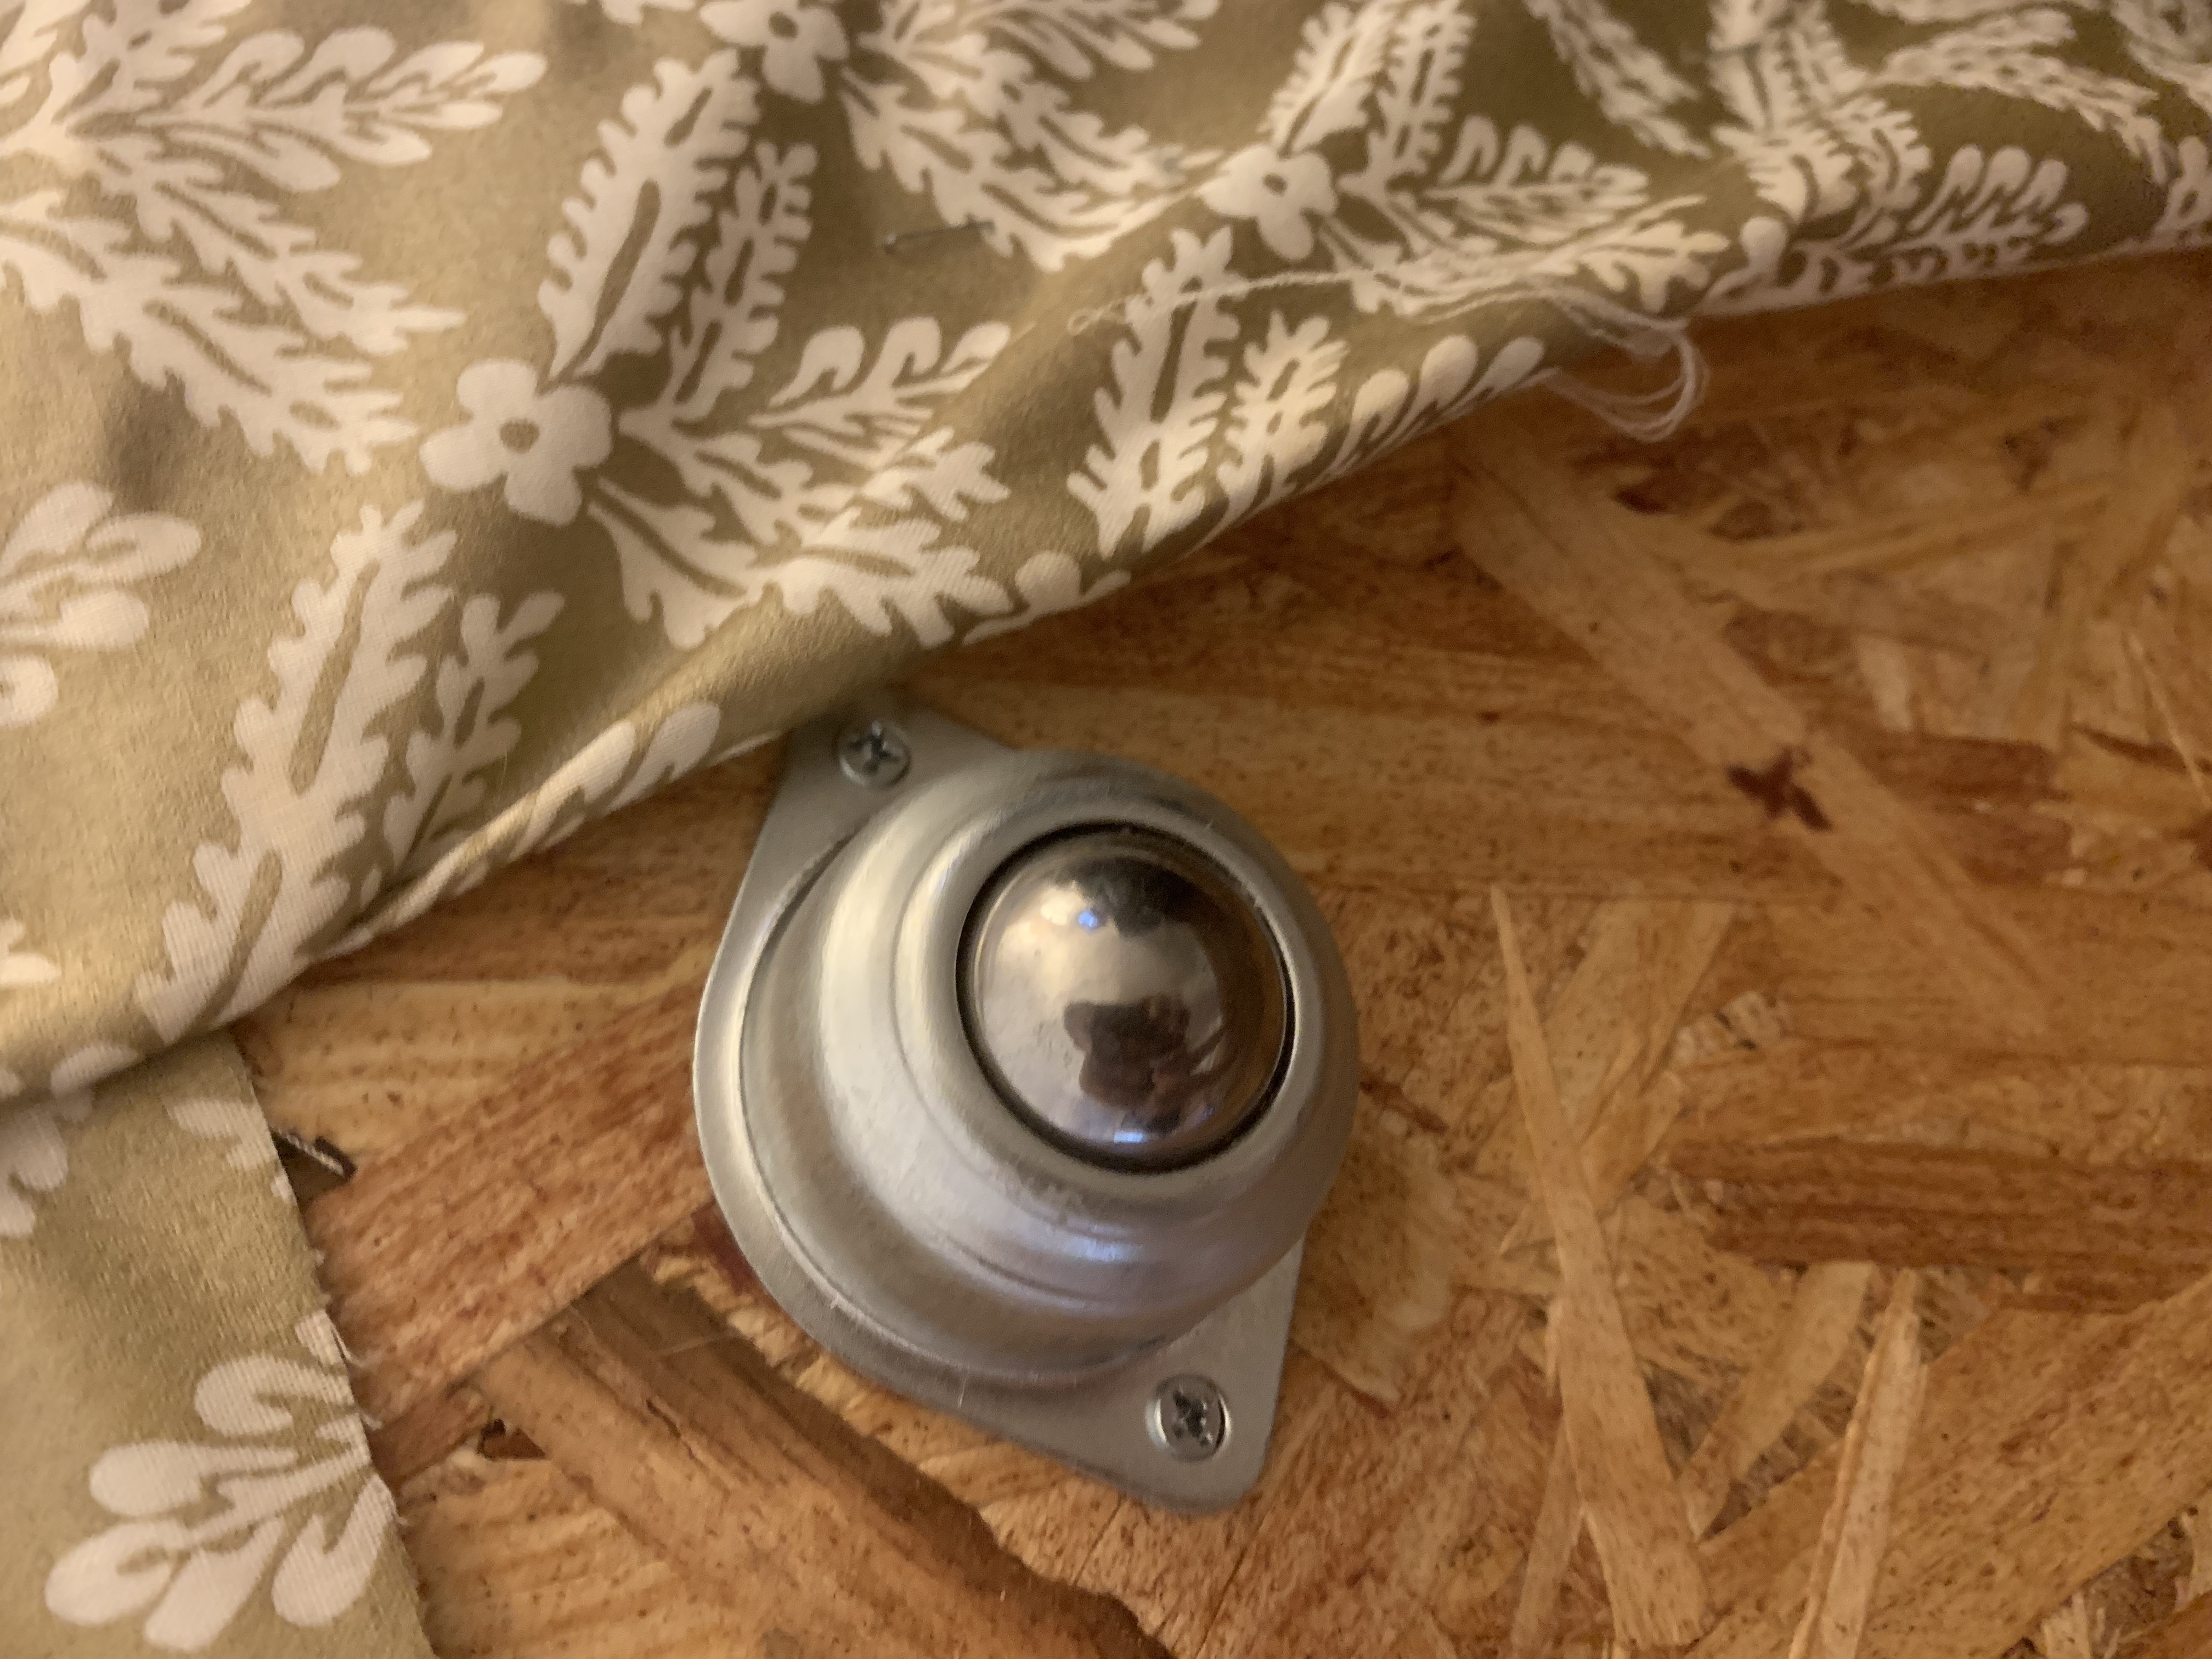
Attach the casters with screws to the plywood, not through the fabric. You could add casters with stops if you choose but I knew I wouldn’t take the time to put in the brake so I opted for these casters from Harbor Freight. Here are some similar ones on Amazon . These are rated for 80lbs. Ramses is 90+ and they still run smoothly with him on top of it.
Step 7:
Finally, flip it over and admire your handy work.

Warning! It may be difficult to take a proper picture because your dog won’t get off of it.
I would love to see your Hide-Away Dog Beds! Get out there and BUILD it!
Disclosure: As an Amazon Associate and other affiliate partnerships I earn from qualifying purchases and no additional costs to you.